

Arcade Mermaid is our classic arcade weirdness and obscurity column! Frequently (no promises) we aim to bring you an interesting and odd arcade game to wonder at.
We continue our lengthy, obsessive coverage of Atari Games’ brilliant, but really difficult, arcade strategy game Rampart.
Overview
Rampart is really two separate but related games, the single-player game and multiplayer. Both are excellent. Even so, this article mostly concerns itself with single-player, but towards the end I will have a few things to say about its multiplayer mode.
Before we begin, you should know that Rampart is a highly abstract game, and as such it might not be easy to see how it all fits together from a text description. I have uploaded several complete playthroughs of the game to YouTube, the first such on that site of the arcade version. You might watch a bit of one of them, it should make it pretty obvious how the game works.
The Board
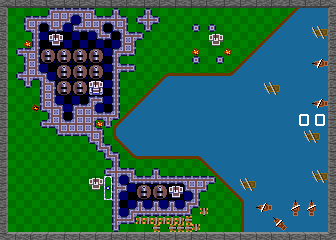
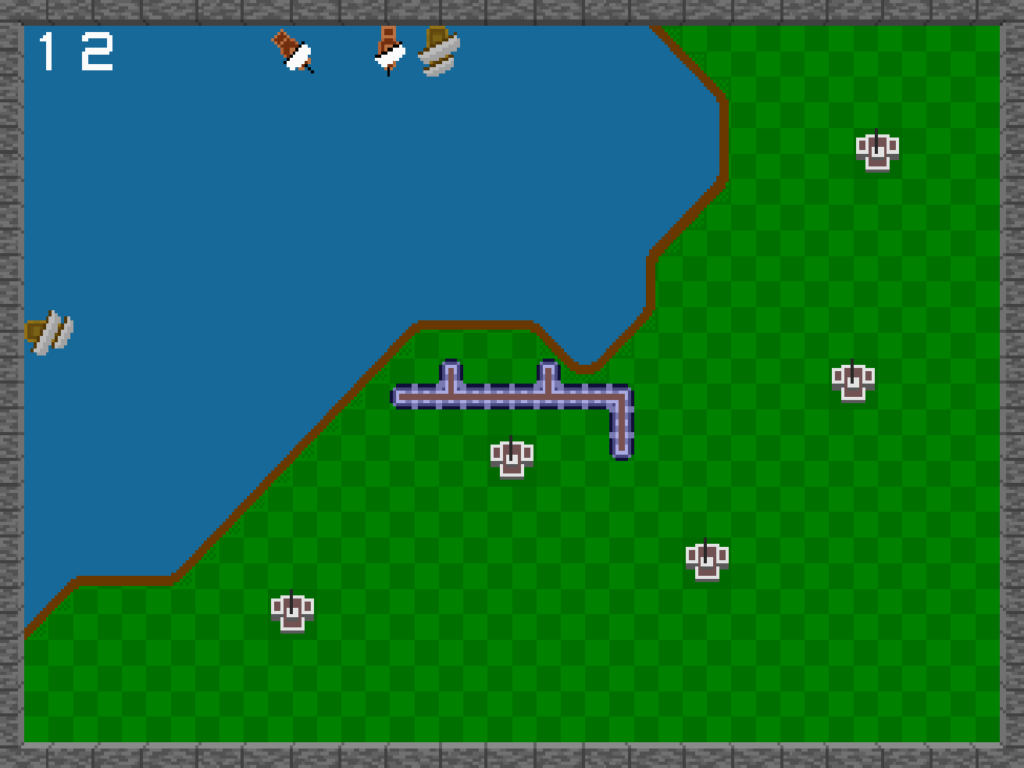
In both single-player and multiplayer, after selecting a home castle and placing initial cannons, the game repeats a sequence of rounds, each consisting of a Battle phase, Building phase and Cannon phase. In the Battle phase, players shoot at ships or the other players’ walls, while those ships or enemy cannons fire back at their own walls. In the Building phase, players place a variety of shaped pieces in an attempt to fix their wall and/or construct walls around at least one of the castles on their land within a time limit. Then in the Cannon phase, players get a number of new cannons to place within the territory they captured in the Building phase, adding to the number of shots they can get off in Battle.
Select Home Castle, then
Cannons -> Battle -> Building -> repeat
This cycle continues until the player wins or loses. Losing happens when a player fails to capture a castle in time in Building. Winning happens, in single-player, when the game decides the ships don’t have a reasonable chance of defeating the player, and advances to the next level, out of six in total. In multiplayer, it happens when all the other players have lost and don’t continue, or for a set number of battles. If the fight goes the full distance, the winner is the surviving player with the highest score.
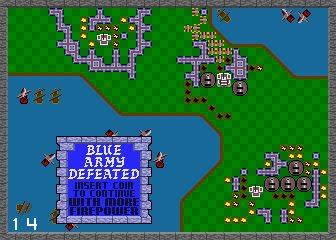
A defeated player can put more money in the machine to continue the game “with more firepower.” This is allowed four times in single-player, so up to five credits in all, and losing after that results in a solid Game Over. The dynamics of continuing in Rampart are really more complex than this, and I’ll explain those later, but for the time being, you should know “with more firepower” signifies several important changes that are not all clear during play.
In multiplayer, losing players can choose to continue individually twice. That can make for a decently long game if all the players choose to buy all their continues. But eventually, the game will declare a round to be the “Final Battle,” after which no continues will be offered to losing players, and the game ends regardless. The number of rounds a game is allowed to go is operator-adjustable, and continued games usually add a few battles to the overall length.
There also exists one semi-secret game variation. If just two players play Rampart, and at least one of them is joining in again after a completed game, there is a map selection screen that offers the chance to play a composite game mode, featuring both two players and ships! In this, the ships belong to one or the other side, and are color-coded based on who they belong to. They function like extra cannons, generally firing where the player aims their cursor, but are more autonomous. This mode is an interesting variation, and is fairly obscure. Could there be other such secrets hidden in Rampart’s code?
Basics
For now, we’re most concerned with figuring out and defeating the very difficult single-player game. The basic play of both games is similar, but there is a lot of difference between attacking ships or walls, and the structure of single-player is quite different, so it’s worth treating each mode separately.
When you put a coin in and press Start, this appears:
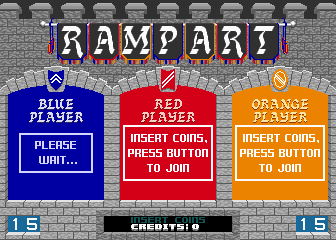
This ornate lobby screen is accompanied by booming drums and realistic, although synthesized, trumpets and fifes. With the volume turned up (as all Rampart machines should rightfully have) the effect is startling and bound to attract some attention. The purpose of this screen is to give other players the opportunity to join the game, for unlike the Gauntlet-style, “join any time” play model Atari pioneered and most arcade games used, once underway a game of Rampart cannot be entered by others. Players can only leave a game, by failing and not continuing.
An interesting thing about Rampart is that, after a game concludes, it always returns to the lobby screen and adds the player’s score to a total across all their games in the session. This encourages players to play repeated games, to see their overall score climb higher and higher. I’ve seen the total go up to over 900,000 points, which takes around 18 full-length games. I know of no reason to go for a high total score other than vanity, but if someone else has information on this I’d certainly like to know!
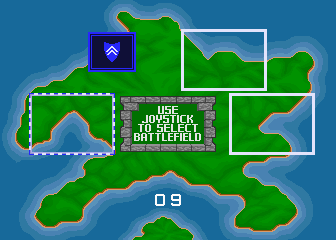
Your Domain

Assuming a single-player game, the screen clears and shows an overview screen of an island. There are four possible maps that can be selected for play here. At the start of the game, two areas along the shore are boxed, one marked “RECRUIT,” the other “VETERAN +5000 points.” Most of Atari Games’ arcade releases had such a selection, for it was a major part of their house style to offer a basic and an advanced difficulty, with a score bonus for starting harder. With Rampart, this choice is mostly an illusion. All choosing Recruit does is start you off with a very easy first board (the Recruit map is always the “J” map), which usually takes two rounds to finish.
Each level pits the player against a larger and more dangerous enemy navy.

At first, only weak Single-Sailed Ships attack, which go down with two hits from basic cannonry. Here, I call these Gunships.

With level two comes Double-Sailed Ships, a.k.a. Landers, which take three hits, and if they manage to get close to a diagonal shoreline, they drop off a swarm of evil little Grunts.

Grunts are a huge danger! They are the only enemy that has the power to move around during the Building phase. I’ll have more to say about them later, but for now just know that a grunt beachhead, left unopposed, has more credit-ending power than anything else in the game.

Starting with level three, Red Ships join the battle. Although few in number at first, these take five shots to sink, and their red cannonballs leave fiery craters where they land. Craters block piece placement and persist for multiple rounds. Usually a Red Ship can get off two or three shots each Battle, and they add up.
Levels four through six feature the same kinds of ships, but they’re darker in color, which in game terms means they take one additional hit before sinking. Dark Gunships take three hits, Dark Landers require four hits, and Dark Red Ships only go down after six cannonballs have struck them.
Every time you complete a level, you’re returned to the island screen to pick a new map to play. After the first level, three remaining unplayed options are offered. If you chose a Recruit game you’ll eventually have to face all these boards, but if you picked Veteran and started on level two, you end up skipping one of them, an opportunity to avoid a disliked map.
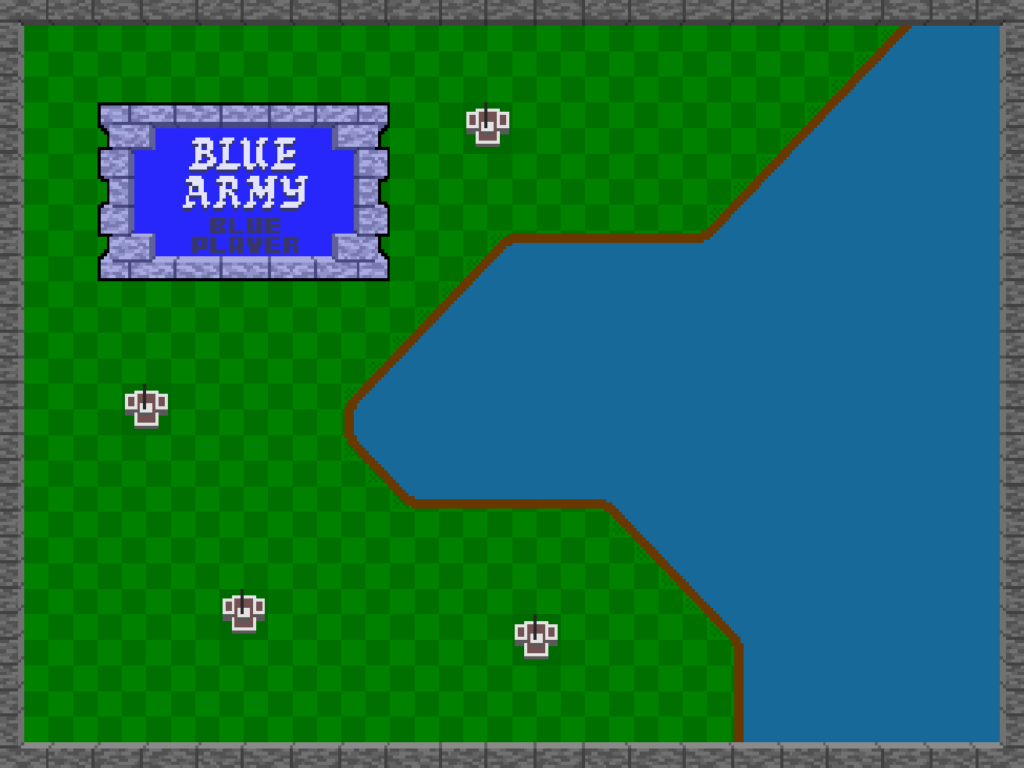
The “C” Map
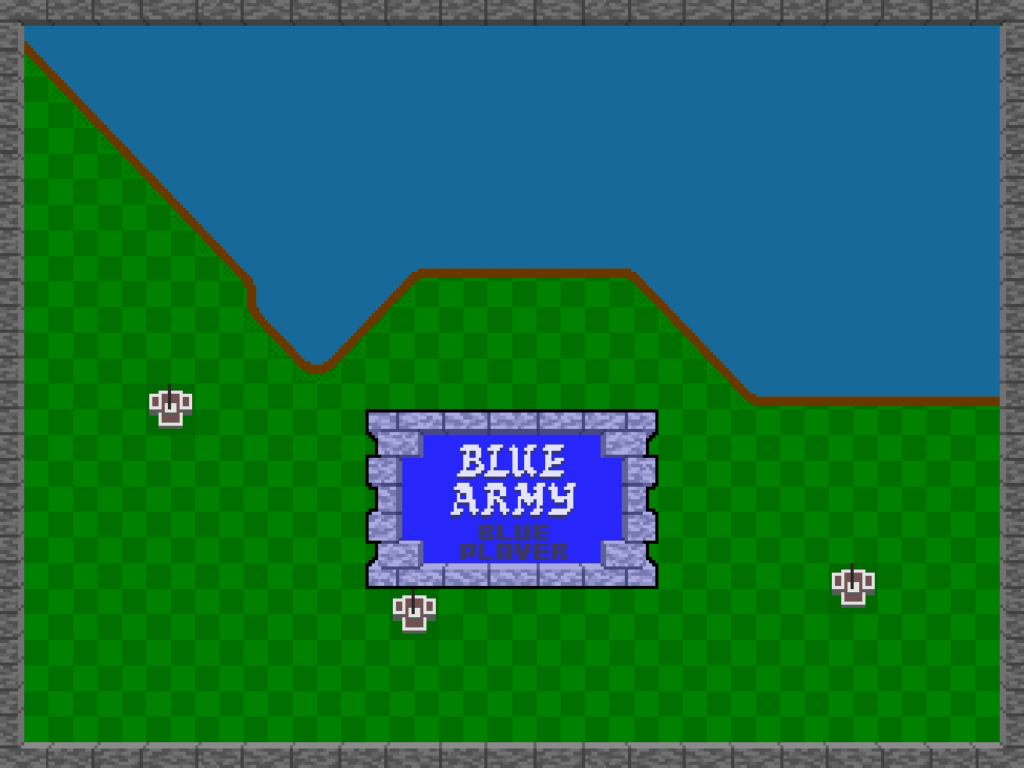
The “Hat” Map
The “J” Map
The “N” Map
The maps are not even in difficulty. Generally, easier maps have castles with land around them on all sides, and more straight horizontal or vertical coastline, giving Landers fewer places to land. My opinion is that the “Hat” map is the easiest, followed by the “J” map, then the “C” and “Lowercase N” maps. A good strategy is to try to get one of the harder two maps out of the way as first selection, so you can later play the J and Hat maps to offset the harshness of the third and fourth levels, but sometimes the Veteran selection level ends up being the Hat, and you’ll have to play them in a different order.
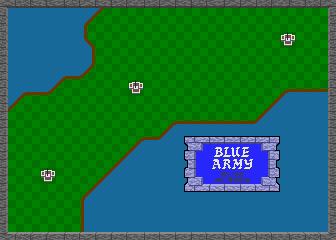
The “Slash” Map
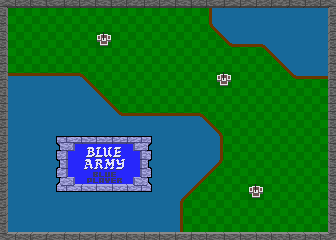
The “Backslash” Map
Level five is selected from one of two unique maps, both peninsulas with water on both sides. Both are difficult, although I think the “Backslash” board is a little easier. As you progress, each level starts you out with fewer castles to capture. By this point you’re only getting three castles, and you’ll probably have to use all of them to survive.
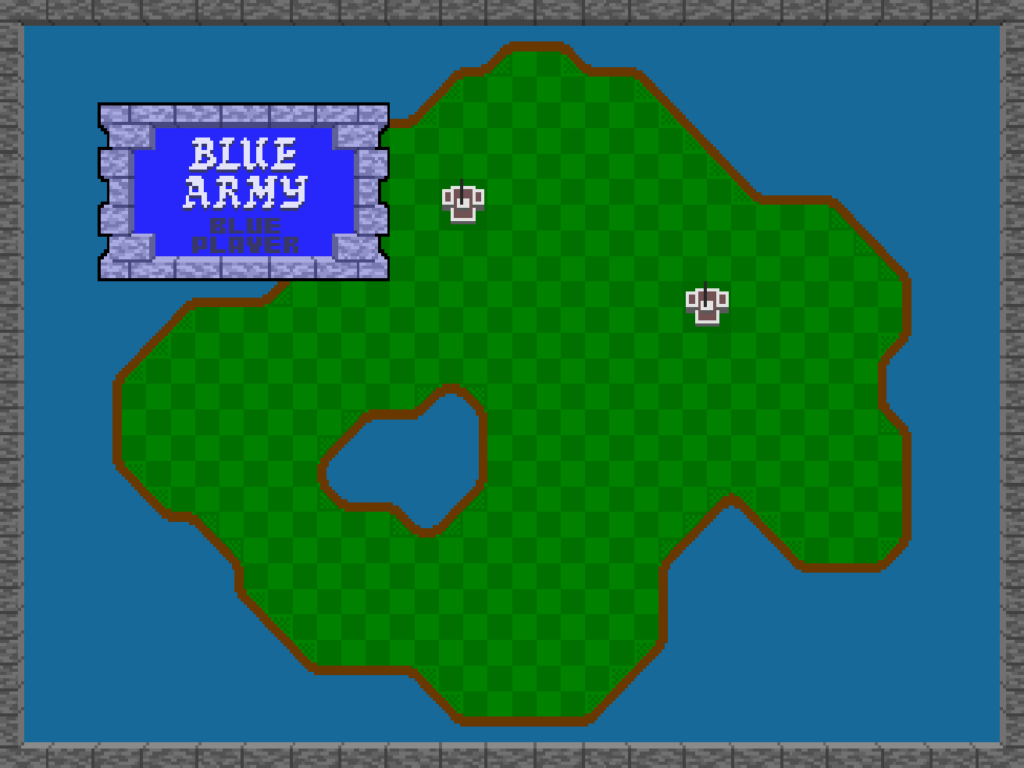
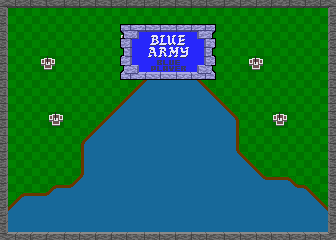
The final, “Island” Map
The last level is an island to itself, with a lake on it and only two castles! Here, ships attack from both sides of the screen. This level is a trial; although you have to sink fewer ships here to win, it’s difficult to prevent landings and grunts from overwhelming you, and the craters from Red Ships can easily give you an inescapable situation unless you mitigate them.
If you finish the last level, you get special ending music, and an illustration that few arcade goers have seen, before being returned to the High Score and Lobby screens. It may seem anti-climatic, but final victory and safe shores are their own reward.