We used to do monthly summary posts, but they ended up being a lot of work to keep up, and often there would be something interesting I’d want to post about that would preempt them. So in their place, and in recognition of Set Side B’s new Bluesky feed (which supplements, but doesn’t replace, our Mastodon feed), here’s a recap of what I consider to be just some of the more-interesting blog posts we published in 2024.
If you’re just coming in from social media and wondering what we’re about, Set Side B is a daily blog that covers what we call “the Flipside of Gaming” (notice the tasteful use of our tagline), specifically in the Retro, Niche and Indie fields. All of that basically gives us license to chase after whatever gaming information we enjoy, which is usually the antithesis of AAA gaming. If we’re being honest with ourselves, we do cover games sometimes that might be called Triple-A, the Legend of Zelda series comes up a lot and they’re often considered headliners, but Nintendo generally tends to have rather a different approach to gamedev than other companies. I’m not going to say they’re perfect, frog knows they have their faults, but they still manage to surprise us from time to time.
So, let’s get on to that recap. Posts marked Sundry Sunday are finds from gaming culture, usually funny Youtube videos. Posts that largely include original content by me are marked Original. I might have misapplied that signifier in places, because I often include extra commentary on posts, and even after spending two hours constructing this behemoth of a list, I have gone mostly by memory and not reviewed every post here. I’m certain that you’ll find something interesting, if you have a look. Set Side B’s archives are unusually rich with wonders, mostly found but sometimes made, and I’m sure if you take a spelunk through our mines, you will be rewarded.
JANUARY
JAN 1: Mario Kart’s catch-up system
JAN 2: FM-synth enhanced version of the Space Harrier theme on Japanese Master System hardware
JAN 5: The many fan revivals of Toontown Online
JAN 6: Dialup AOL-era Neverwinter Nights
JAN 9: Original — The 10th-Key scatter bug in NES Pac-Man
JAN 12 & MAY 20: Hempuli’s many riffs on Sokoban – Part 1, Part 2
JAN 15 & 16: Dark Arts of Pinball – Bang Backs and Deathsaves
JAN 21: AGDQ highlight: Playing Gyromite, but with a dog in place of R.O.B.
JAN 24: Original — On Stephen’s Sausage Roll
JAN 27 & 29: Displaced Gamers’ Behind the Code on Dr. Jekyll & Mr Hyde, Part 1 and Part 2
JAN 31: Gamefinds — Cosmic Collapse, a Suika Game-style remake in Pico 8, but with better play
FEBRUARY
FEB 1: The “no fire” bug in arcade Galaga
FEB 2: The inefficiency of Super Mario World’s score display
FEB 3: Mario Paint’s Data Over Flow error, when you draw an image that can’t be saved
FEB 11: Sundry Sunday — BitFinity’s song + animation Megalixir
FEB 17: Chrontendo #64!
FEB 20: Project to finish every non-hacked Mario Maker 1 level enters home stretch
FEB 22: Original — Nintendo Direct quick takes
FEB 24: Gamefinds —A Pico 8 remake of DOOM
FEB 25: Sundry Sunday — various versions of the music from Gyruss
FEB 26: Original — How to play Pocket Card Jockey: Ride On (with a video tutorial!)
FEB 29: GifCities
MARCH
MAR 6: Fans fix the Garfield PC game
MAR 7: Speedrunners get custom N64 control sticks to make up for the infamous dust of death
MAR 14: Displaced Gamers on why NES Tetris crashes at extremely high levels
MAR 20: Winning at arcade Dragons Lair
MAR 24: Sundry Sunday — Baldur’s Gate 3 has gone too far
MAR 28: 4D Golf releases on Steam
APRIL
APR 3: Sharopolis on Youtube looks into NES games that perform particularly skillful technical feats
APR 4: Nintendo’s old corporate headquarters is a hotel now, and Before Mario stayed there
APR 7: Sundry Sunday — The crazy trailer to lost 3DO music game Duelin’ Firemen
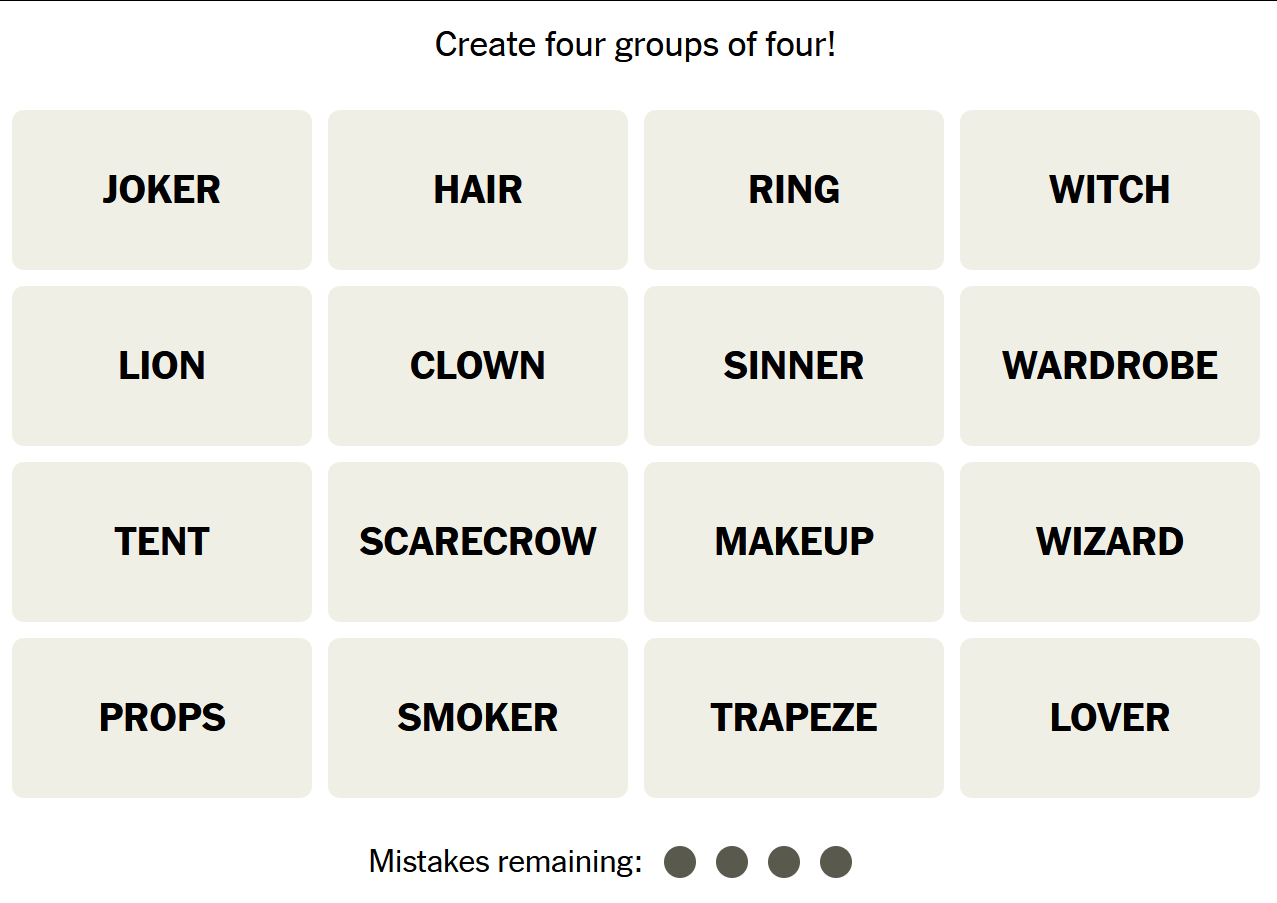
APR 13: Original — On the New York Times’ Connections puzzles
APR 16: Annotated video playthrough of maddening arcade hit (in Japan) The Tower of Druaga
APR 17: Atari (not the same as the old Atari) makes arcade games with Food Fight Frenzy
APR 18: PannenKoek spends nearly four hours explaining Mario 64’s many glitchy invisible walls
APR 22: Nintendo Monopoly depicts Mario in the style of Rich Uncle Pennybags

APR 27 & JUN 25: Original — On Dungeon, a 30-year-old CRPG system for the Commodore 64, and my own attempts to rerelease it. The original and efforts to revise it.
APR 29: Commodore Free Magazine
MAY
May 2: Moviecart, adapting films to play on an Atari 2600
MAY 3: The history of KidPix
MAY 5: Sunday Sunday — Animated Lego breakfast with Super Mario
MAY 6: Retro Game Mechanics explains how to glitch out Super Mario World by stomping Wigglers
MAY 9: Which version of Wizardry to play?
MAY 15: Original — Comparing the character sets of microcomputers
MAY 16: Original — A directory of U Can Be Video Games’ videos
MAY 23: Nintendo uncensors Vivian’s transness in the remake of Paper Mario: The Thousand-Year Door
MAY 24: Original — @Play: Which is better, ring mail or splint mail?
MAY 25: Dani Bunten’s early classic computer game Wheeler Dealers has been preserved
MAY 30: Awesome Donkey Kong romhack compilation
MAY 31: Ocarina of Time timer bug, taking advantage of extremely low health
JUNE
JUN 4: The esports scene around Farming Simulator
JUN 7: Hardcore Gaming 101 thread on obscure arcade secrets
JUN 9: Sundry Sunday — Bing Bang, an awesome animation for a Splatoon 3 song
JUN 13: Complete but abandoned Tarzan Atari 2600 game recovered after 40 years

JUN 14: On Game Dads, small, inexpensive yet capable handheld emulation machines
JUN 16: Sundry Sunday — Mexican Flyer (that song from Space Channel 5) and its history
JUN 22: Dan Olsen of Folding Ideas discusses James Rolfe, the Angry Video Game Nerd
JUN 28: Mattel’s handheld Dungeons & Dragons LCD game
JULY
JUL 2: Website for generating animated Earthbound battle backgrounds
JUL 5: Original — On the history of Wizardry
JUL 12: Snafuru’s extensive Wizardry fanpage
JUL 13: The MAD Magazine type-in program
JUL 16: Blade & Bastard, the (current!) Wizardry novel/manga
JUL 19: Dune author Frank Herbert’s book on 80s microcomputers, “Without Me You’re Nothing”
JUL 20, 25: Original — Getting Started in Digital Eclipse’s remake of Wizardry: Proving Grounds of the Mad Overlord, Part 1 & Part 2

JUL 23: The Mr. Saturn text generator
JUL 29 & AUG 5: Looygi Bros tests various glitches in the Nintendo World Championships game, Part 1 & Part 2
JUL 31: A presenter at RustCon explains why MISSINGNO happens in Pokemon
AUGUST
AUG 2: Original — Review of World of Goo 2
AUG 6: Shmuplations translates an interview with a programmer on arcade Donkey Kong
AUG 13: Original — Science facts from No Man’s Sky
AUG 14: Comparing versions of Space Harrier
AUG 15: How randomness is used in Ms. Pac-Man
AUG 17: Complete Youtube playthroughs of the original Zork trilogy
AUG 19: A blog about Sega’s Flicky
AUG 20: Hidden Dialogue in Earthbound
AUG 21: The game Mission: Impossible on CP/M
AUG 24: Sunsoft’s Hebereke cartoons on Youtube
AUG 28, 29 & SEP 2, 4 & NOV 19: Original — How to play Atari Games’ Rampart, and also someone other than me talking about Rampart, Part 1, Part 2, Part 3, Part 4, someone else
SEPTEMBER
SEP 3: Obit for Andrew Greenberg, co-author of Wizardry
SEP 7: Hidden flags in Earthbound, the Mole Playing Rough, and the Game Over Glitch
SEP 9: Balatro University’s beginner’s guide to extremely high scores
SEP 10: Spelunky on the Commodore 64
SEP 15: Balatro (intentional) deck-peeking involving Misprint
SEP 18: Gamefinds — Blob the Klex
SEP 19: Kaze Emanuar on misapplied optimizations in Super Mario 64
SEP 20: Why hasn’t Nintendo implemented achievements?
SEP 22: Sundry Sunday — The Untitled Goose Programme
SEP 25: Katamari Damacy turns 20
SEP 30: The Rogue Archive
OCTOBER
OCT 2: Ed Logg on creating Gauntlet
OCT 4: Original — Getting Started in Pilot Quest (UFO 50 game # 44)
OCT 5: A walkthrough of Barbuta (UFO 50 game #1)
OCT 6, DEC 22: Sundry Sunday — The Amazing Digital Circus, Parts 1-3, Part 4
OCT 8: On the maddening difficulty of “Snowman’s Lost His Head” in Super Mario 64
OCT 9: Aftermath’s Chris Person on web forums in 2024
OCT 11: Whatever happened to Toadsworth?
OCT 12: Masahiro Sakurai on Satoru Iwata

OCT 15: HTML for People, an online book about learning to make websites for themselves, as intended
OCT 18: Displaced Gamers on the awfulness of NES Ikari Warriors
OCT 22: Original — My talk on Mystery Dungeon games for Roguelike Celebration 2024
OCT 23: UFO 50 Showcase
NOVEMBER
NOV 7: Randomly-occuring debug mode in Super Mario All-Stars’ version of Mario 3
NOV 8: Blaster Master & Wing of Madoola’s unreleased and lost arcade versions
NOV 14: Tomato’s excellent game translation blog Legends of Localization shows fitful signs of activity
NOV 17: Remake of the DK Rap by Grant Kirkhope and Substantial
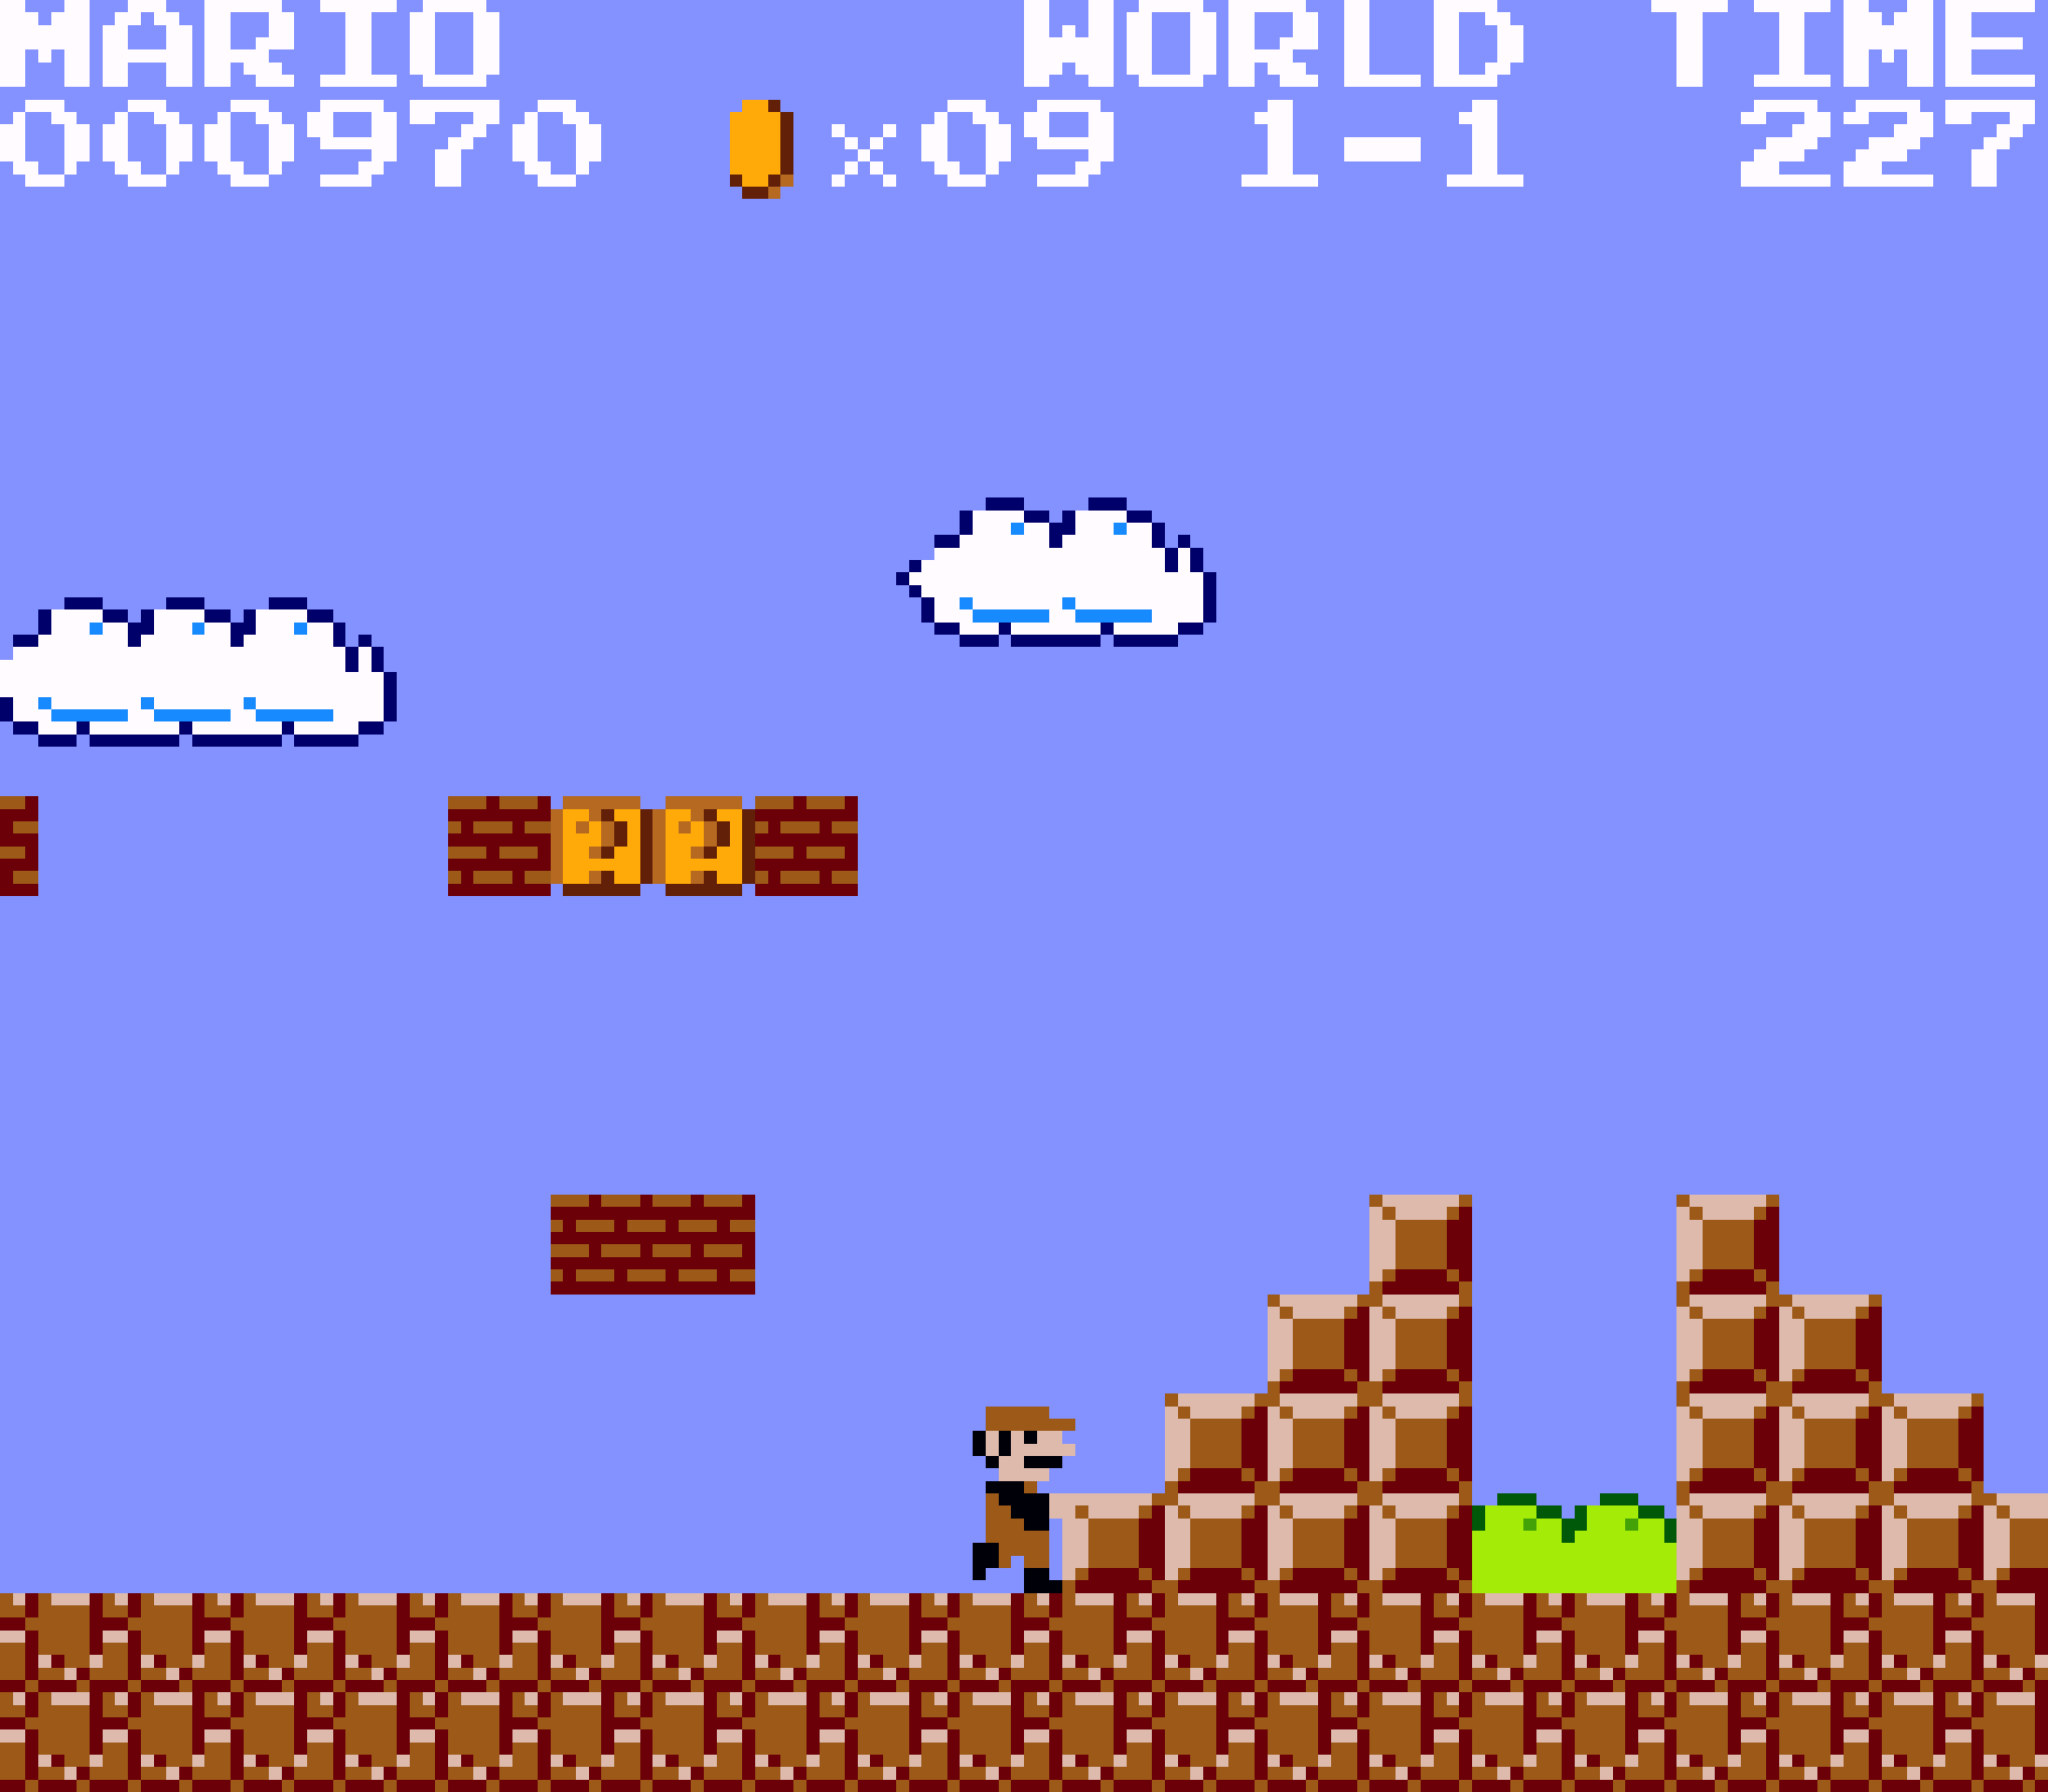
NOV 18: Score keeping on the NES
NOV 21: Super Mario Bros. Mini on the Pico 8
NOV 22: Retro365 on Little Computer People
NOV 23: How many Bokoblins are in The Legend of Zelda: Tears of the Kingdom?
NOV 26: Almost Something on game rental lawsuits and photocopying instruction manuals
NOV 28: Original — A deep strategy guide to Party House (UFO 50 game #25)
NOV 29: Moving Miis from the Wii to the Switch
NOV 30: Someone has written a script that will defeat ANY game of Pokemon Platinum
DECEMBER
DEC 2: The Zelda Timeline is updated to account for Echoes of Wisdom
DEC 6: Game making IDEs GB Studio and BB Studio
DEV 11: Kit & Krysta take a tour of a secret gamedev hangout in Tokyo
DEC 13: Intro videos for Caves of Qud
DEC 14: Info from a data scrape of the entire Steam storefront
DEC 15: Sundry Sunday — An old cartoon, “Microcomputers: An Introduction”
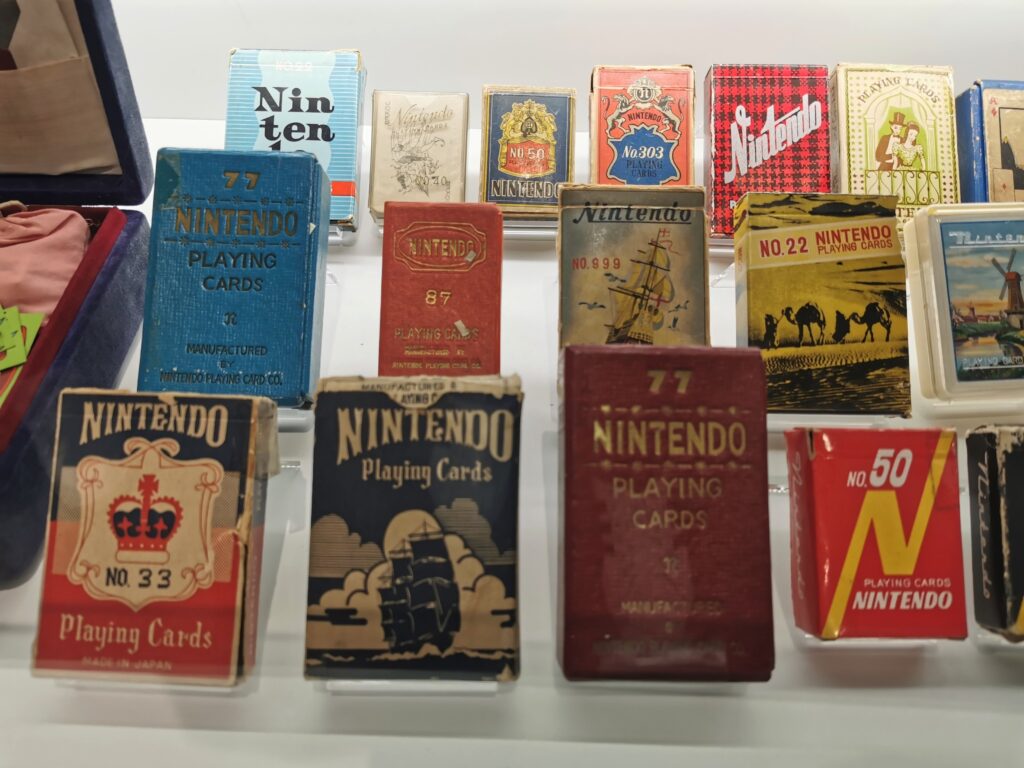
DEC 16: Nintendo’s weird corporate structure
DEC 17: Some Body lays out how the AI works in Pokemon Mystery Dungeon: Red & Blue Rescue Team
DEC 19: Grouping ghosts in Ms. Pac-Man
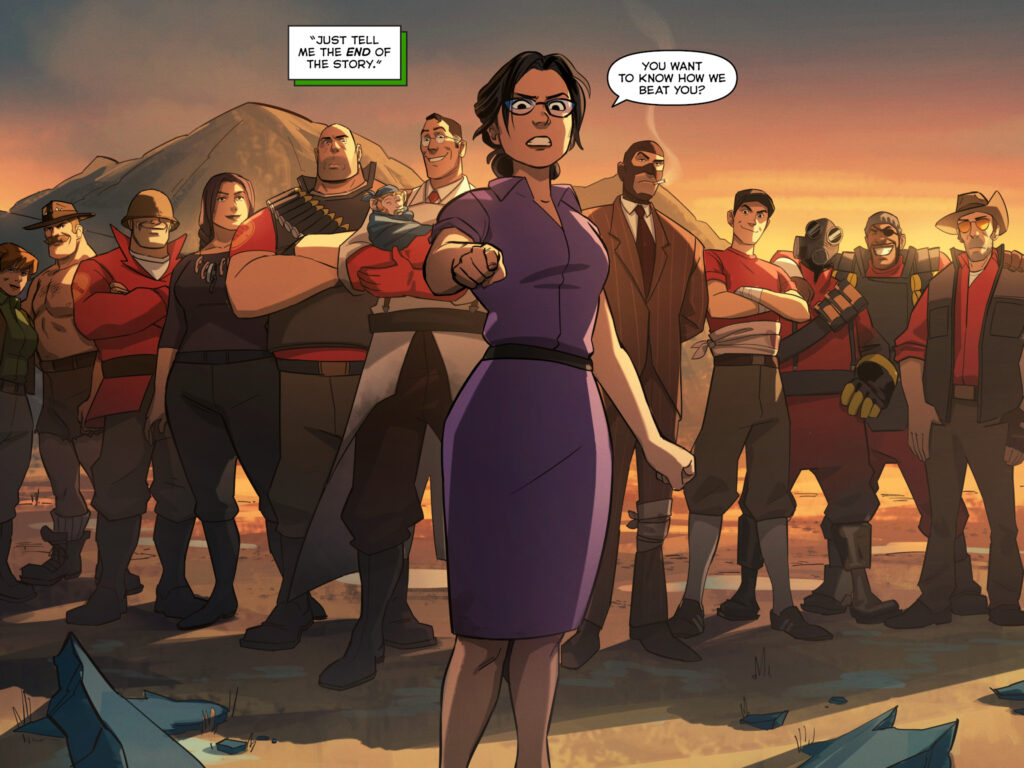
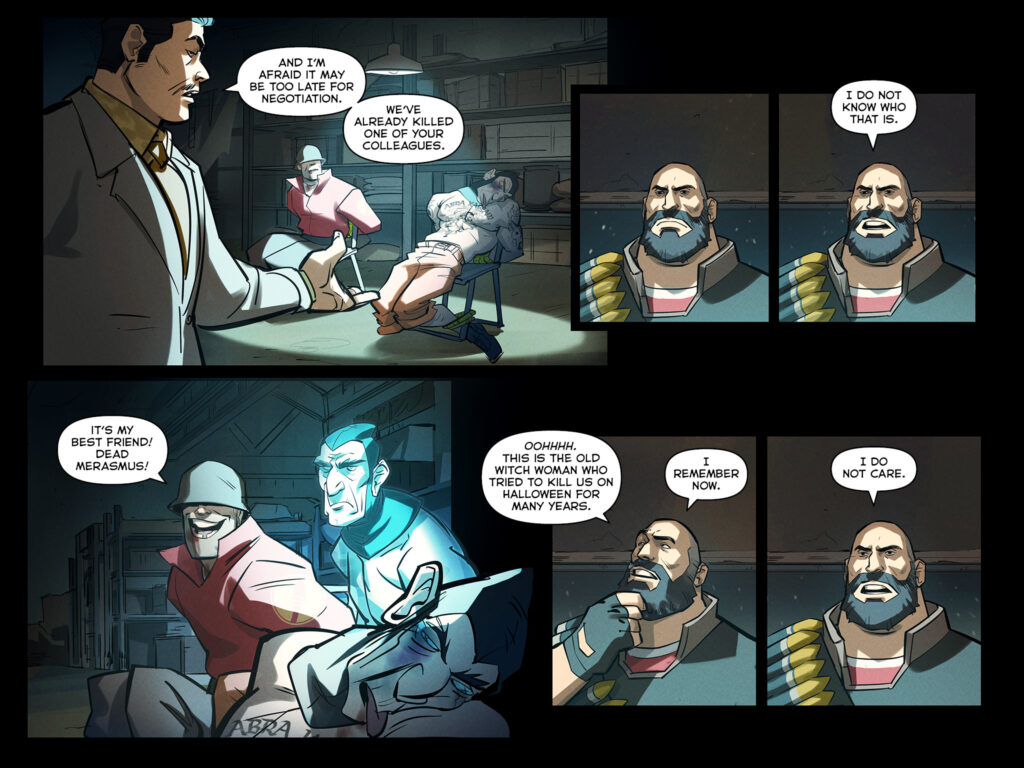
DEC 24: The conclusion of the backstory of Team Fortress 2
DEC 25: A program that plays Animal Crossing music and weather noises in the backgroun on your computer
DEC 30: Hunter R. explains the letter grading system in Gamecube Animal Crossing